
Appearance
Managing Courses
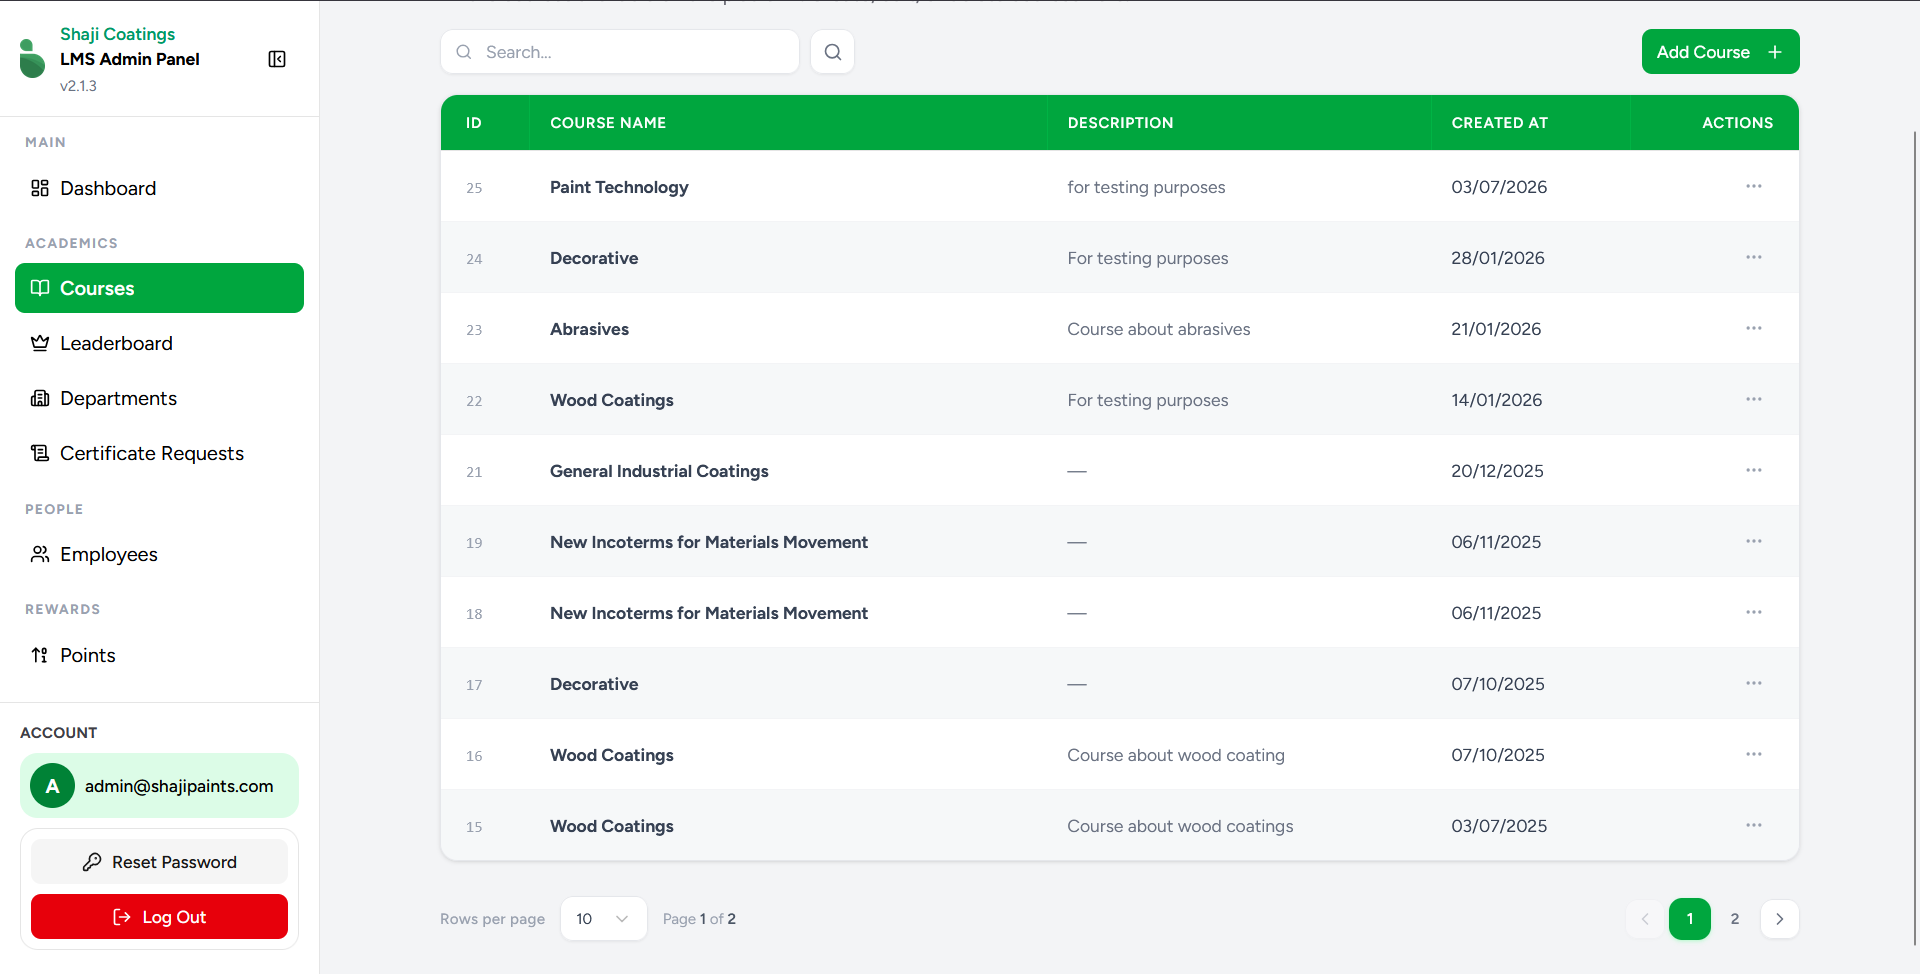
The Courses screen is the central hub for managing your organization's learning curriculum. From this dashboard, administrators can create new training programs, modify high-level course details, assign courses to specific departments, and access in-depth performance analytics.
Overview
The primary interface provides a scannable list of all currently configured courses.
- Search Functionality: Use the search bar at the top to quickly filter and locate specific courses by name.
- Data Overview: The central table displays the following information for each course:
- ID: The unique identifier for the course.
- COURSE NAME: The official title of the training program (e.g., Paint Technology, Decorative).
- DESCRIPTION: A brief summary of the course content or its intended purpose.
- CREATED AT: The date the course was originally added to the system.
- ACTIONS: A menu (represented by the
...icon) providing access to course management, structural configuration, and analytics.
Basic Course Operations
1. Add a Course
To create a new training program, click the green Add Course + button at the top right of the screen.
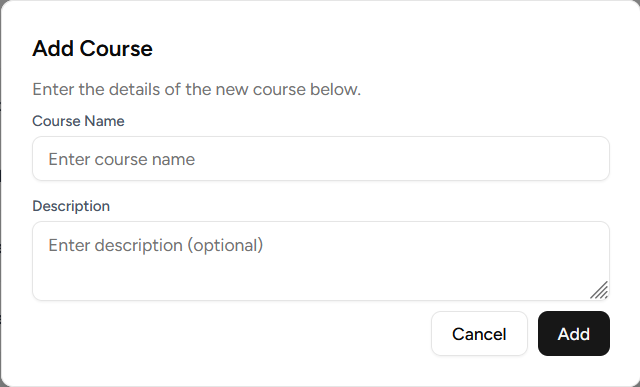
- Course Name: Enter the official title of the course (Required).
- Description: Provide an optional summary or context for the course.
- Click Add to initialize the course in the database.
2. Edit a Course
To modify the high-level details of a course, click the actions menu (...) on the corresponding row and select Edit Course.
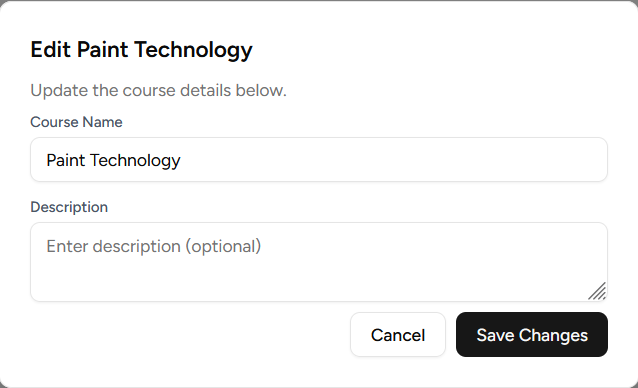
- Update the Course Name or Description as needed.
- Click Save Changes to apply the updates globally.
3. Delete a Course
To completely remove a course from the LMS, select Delete from the actions menu.
⚠️ WARNING: Deleting a course is a destructive action. It will permanently remove the course and systematically erase all of its nested modules, quizzes, questions, and associated employee progress records.
Nested Navigation & Actions
The actions menu (...) on each course row unlocks advanced administrative tools, allowing you to build out the curriculum structure and track its success.
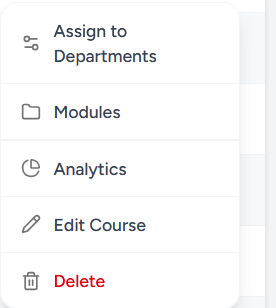
Assign to Departments
Select Assign to Departments to control which employee groups are required to take the course.
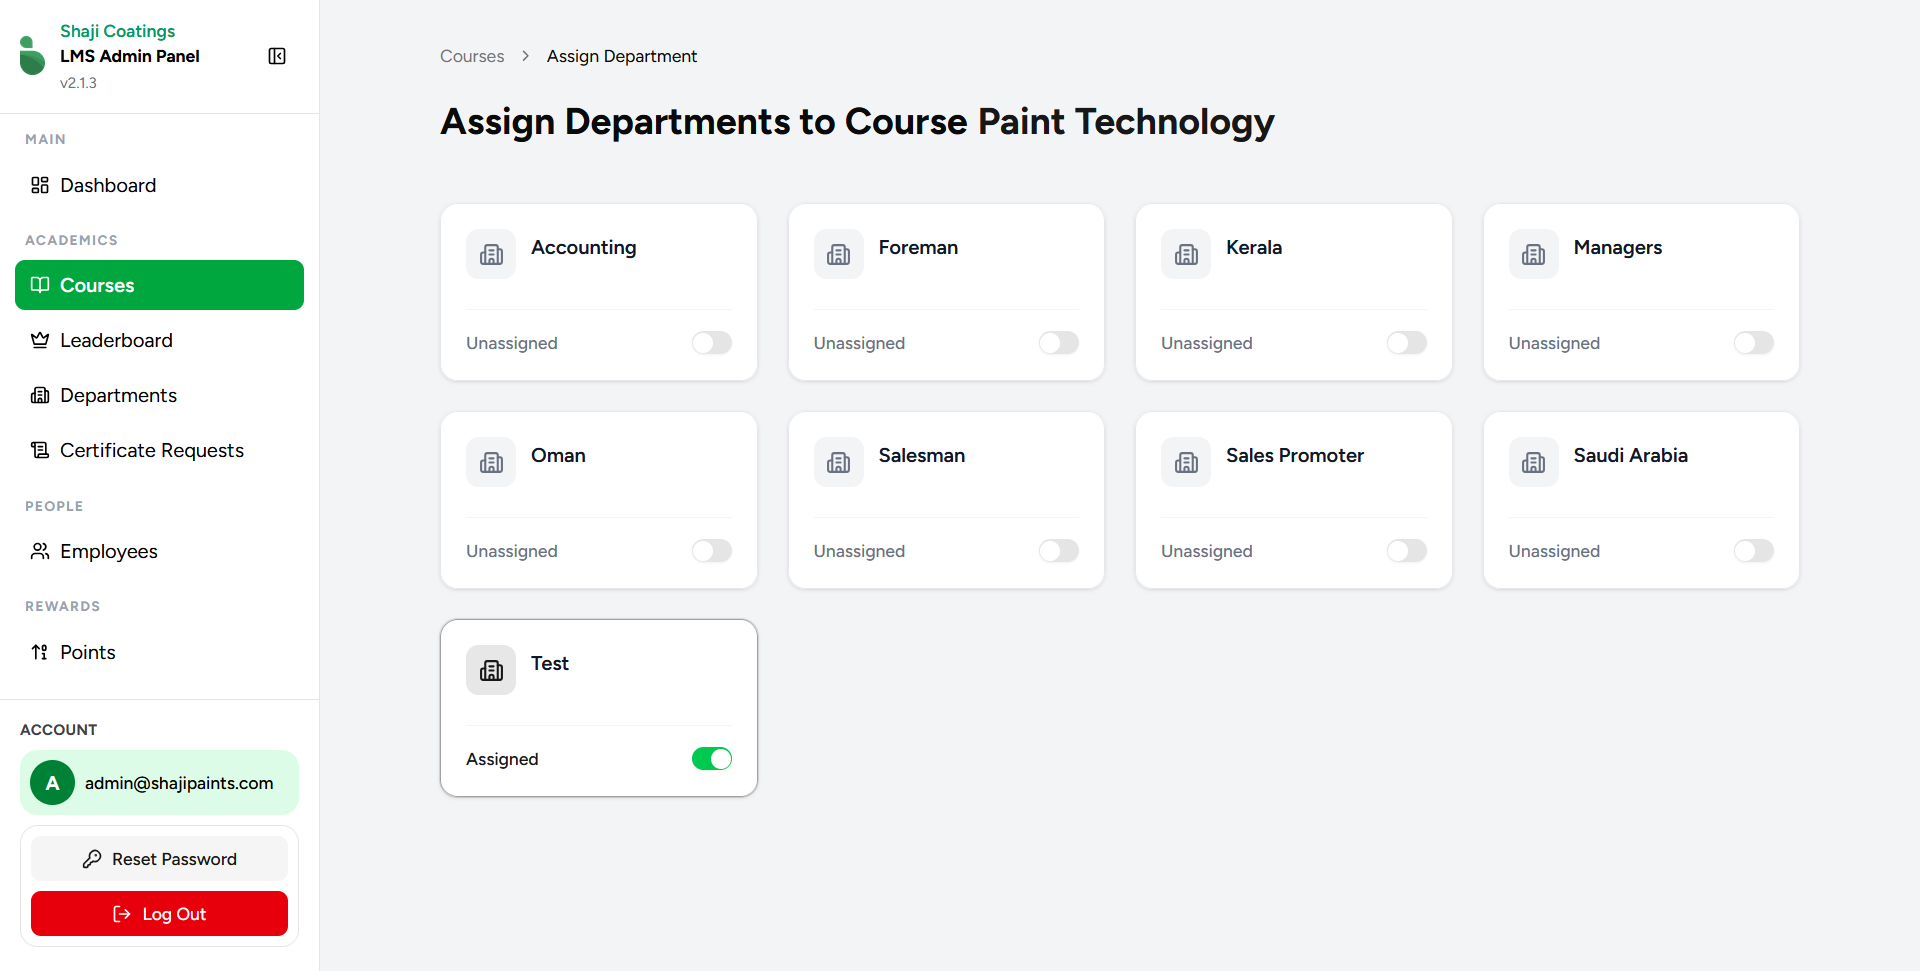
- This screen presents all available departments as toggleable cards.
- Flip the switch to Assigned (green) to make the course mandatory for all employees within that specific department.
- Leave it as Unassigned (grey) if the course is not relevant to them.
Modules
Select Modules to navigate directly into the course builder interface. This is where you will construct the actual learning content, breaking the course down into digestible sections and lessons. (For detailed instructions, refer to the Adding Modules guide).
Analytics
Select Analytics to view a comprehensive, data-driven dashboard detailing how employees are interacting with the specific course.
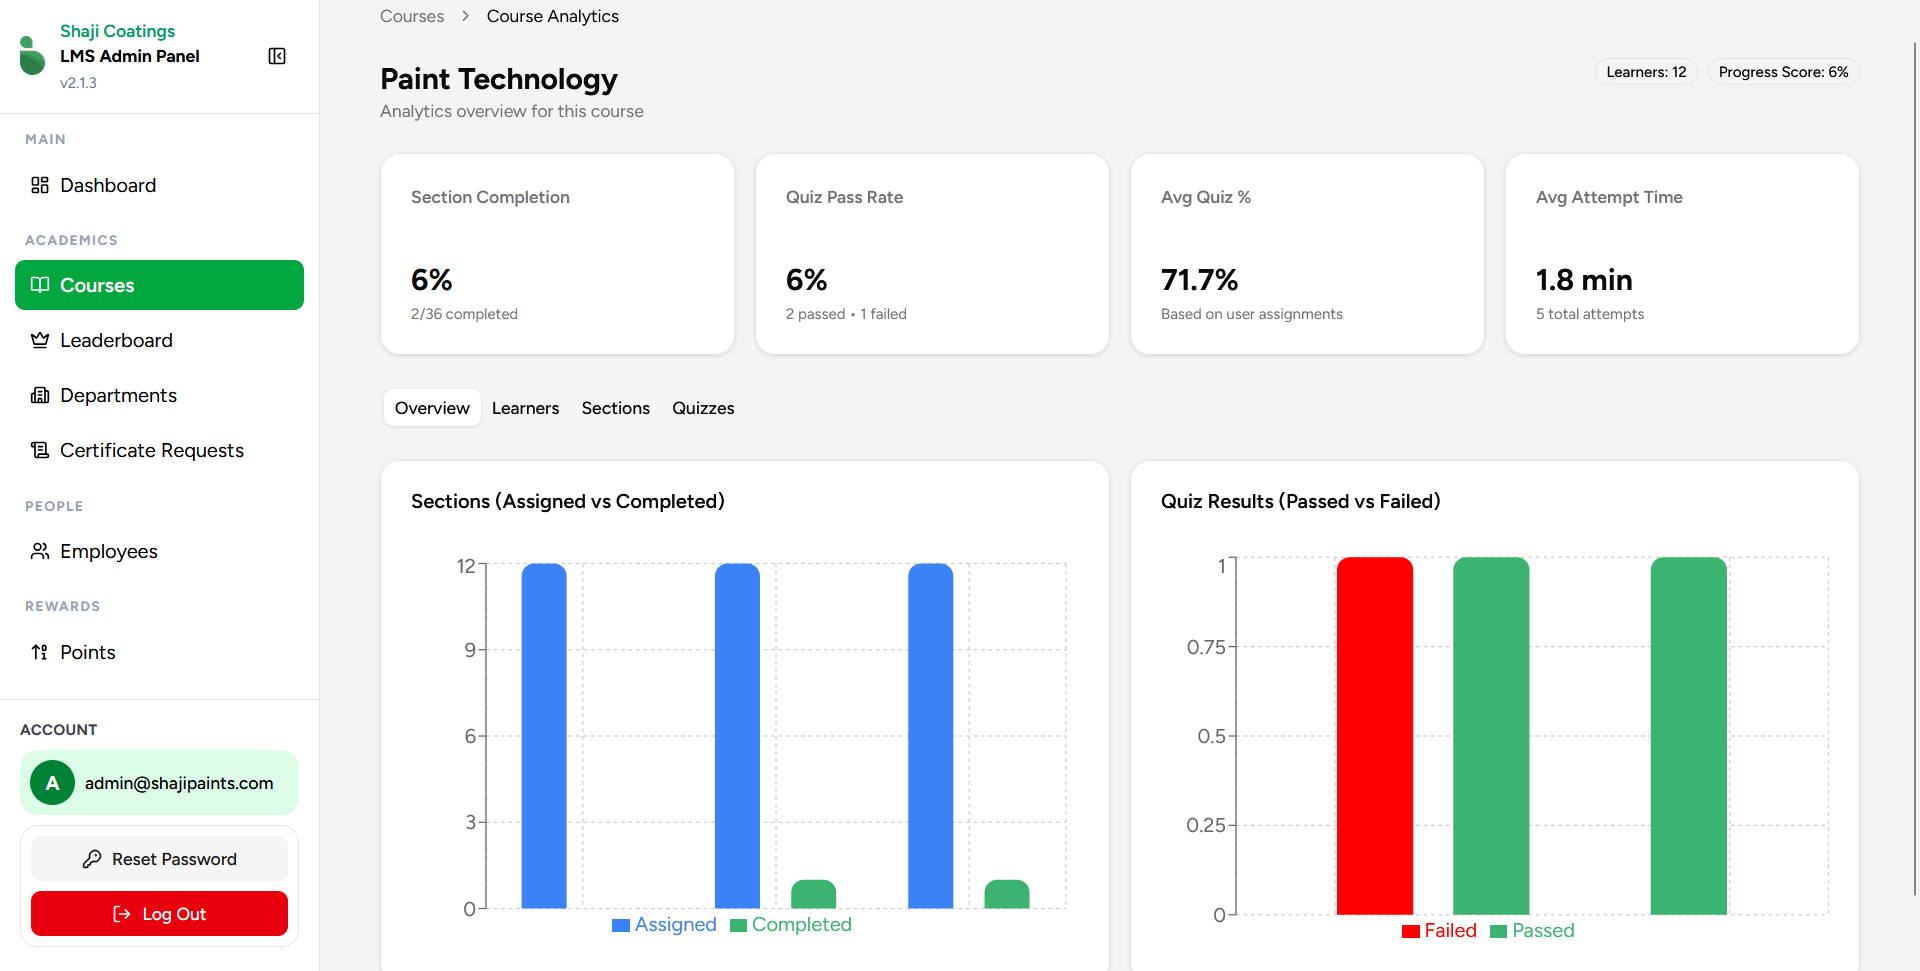
The analytics dashboard provides real-time insights, including:
- Quick Metrics: Top-level cards displaying overall Section Completion rates, Quiz Pass Rates, Average Quiz Percentage, and the Average Attempt Time.
- Visual Data: Interactive bar charts comparing the number of Assigned vs. Completed sections, and the ratio of Passed vs. Failed quiz attempts.
- Detailed Tabs: Switch between Overview, Learners, Sections, and Quizzes to drill down into specific granular metrics.