
Appearance
Employees Management
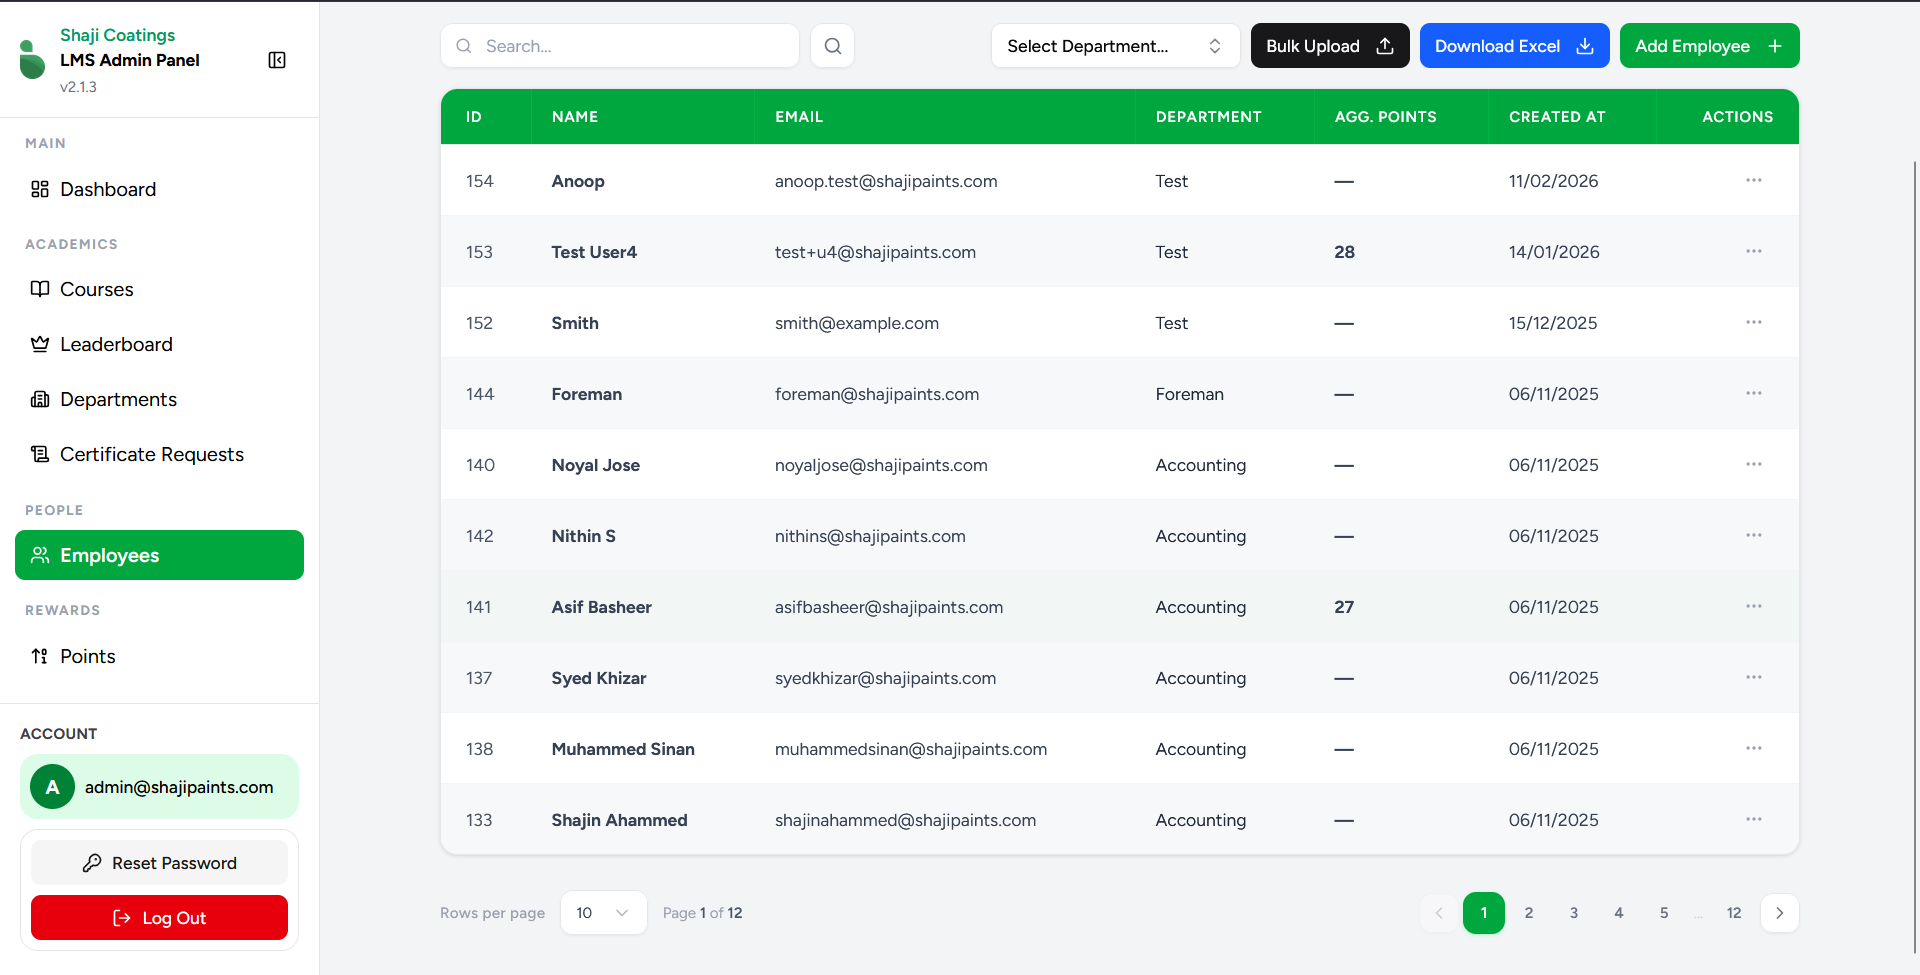
The Employees screen serves as the central directory for managing all user accounts within the LMS. Administrators can view the entire workforce, add new employees individually, execute bulk uploads, and maintain existing profiles.
Key Features
- Search Functionality: A search bar is available to quickly locate specific employees by name or email.
- Department Filter: The "Select Department..." dropdown allows administrators to narrow down the employee list to a specific department.
- Data Overview: The main table provides a quick glance at key employee metrics:
- ID: The system's unique identifier for the employee.
- NAME: The employee's full name.
- EMAIL: The employee's contact email address.
- DEPARTMENT: The department the employee is assigned to.
- AGG. POINTS: The total aggregate reward points the employee has earned.
- CREATED AT: The date the employee's account was registered.
- ACTIONS: A menu (represented by the
...icon) providing access to edit or delete operations.
- Download Excel Template: Use the Download Excel button to download the required spreadsheet format. This template is necessary for formatting your data correctly before performing a bulk upload.
Employee Operations
1. Add an Employee
To manually create a single employee record, click the green Add Employee + button at the top right.
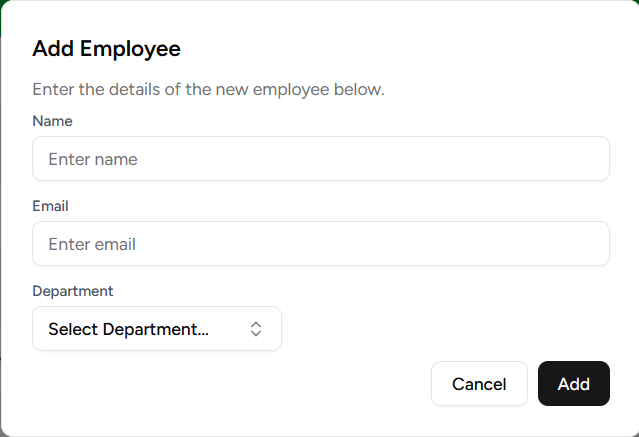
- Provide the employee's Name and Email.
- Select their designated Department from the dropdown menu.
- Click Add to create the user account.
2. Bulk Upload Employees
For onboarding multiple users simultaneously, click the Bulk Upload button.
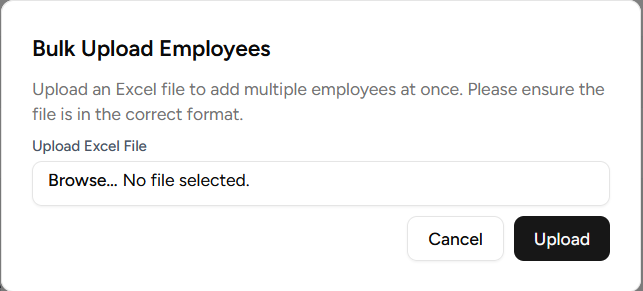
- Click on the file browser to select your completed Excel template. Ensure the file strictly follows the format provided via the "Download Excel" option to prevent data errors.
- Click Upload to process the file and populate the database with the new employees.
3. Edit an Employee
To modify an existing employee's details, click the actions menu (...) on their respective row and select the edit option.
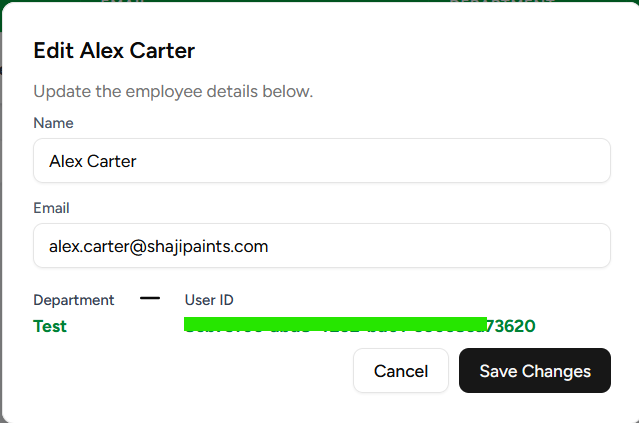
- You can update the employee's Name, Email, and Department.
- The system's internal User ID is displayed at the bottom for administrative reference.
- Click Save Changes to apply the updates.
4. Delete an Employee
To remove an employee from the system, select the delete option from the actions menu (...).
⚠️ WARNING: Deleting an employee is a fatal operation. Proceed with extreme caution. Deleting an account will permanently erase all associated data, including the employee's course progress, earned points, generated certificates, and login access. This action cannot be undone.